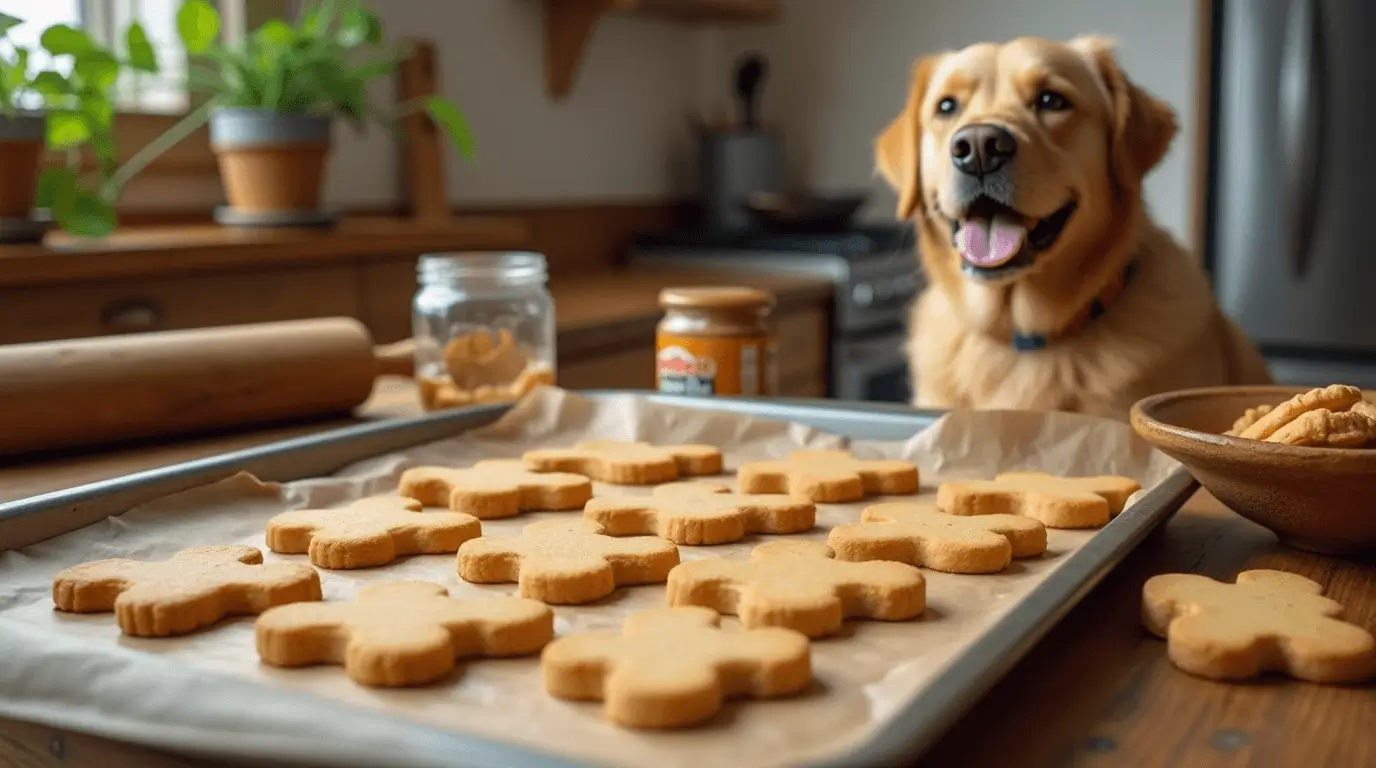
Dog Biscuits Peanut Butter – Simple Homemade Treat Recipe
Making homemade dog biscuits peanut butter is a simple and fun way to treat your furry friend. These dog biscuits peanut butter are packed with natural ingredients, making them a healthier alternative to store-bought snacks.
Making yummy peanut butter dog treats is simpler than you think. These treats are full of good stuff and can be made in less than an hour. I started making treats because my dog loved the smell of fresh biscuits.
These treats are not only tasty but also better for your dog than store-bought ones. You only need a few things like whole wheat flour, peanut butter, and applesauce. Together, they make treats that are healthy and delicious.
In this guide, I’ll show you how to make peanut butter dog treats that your dog will love. You’ll learn how to pick the best ingredients and bake them perfectly. Soon, you’ll be a pro at making homemade dog treats.
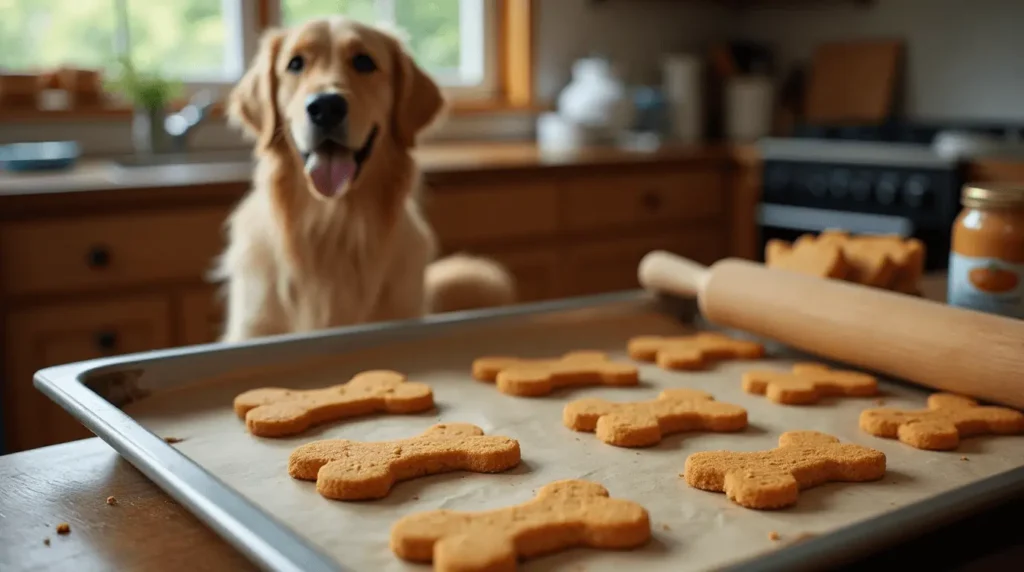
The Perfect Dog Biscuits Peanut Butter for Your Furry Friend
Making homemade dog treats is a fun way to show love to your pet. *Peanut butter dog biscuits* are tasty and healthier than store-bought ones. You get to choose what goes into your pet’s snacks.
When I started making treats, I found many benefits. *Dogs love* the fresh, natural flavors of homemade treats.
Peanut Butter Dog Biscuits: A Hit with Dogs
Homemade treats have many advantages. You know exactly what’s in them, avoiding bad stuff. You can also tailor the recipe to your dog’s needs.
Why Dogs Love Peanut Butter Treats
Peanut butter dog biscuits are a hit with dogs. The flavor and protein are irresistible. *Most dogs go crazy* for peanut butter, making it perfect for treats.
Safety Considerations for Ingredients
When making treats, safety is key. Use natural peanut butter without xylitol, which is toxic. Always check labels and use safe ingredients for your dog’s treats.
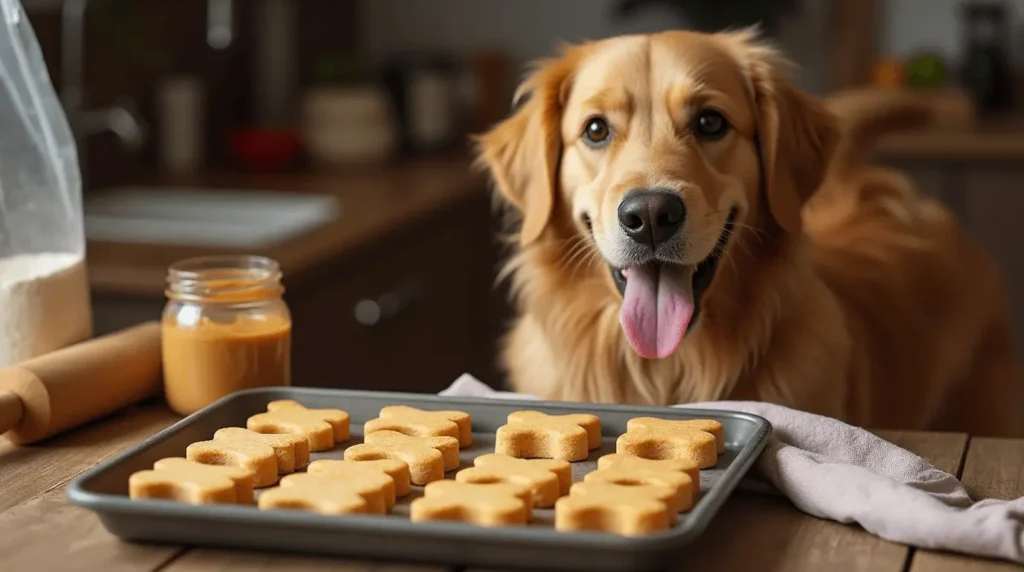
Essential Ingredients for Dog Biscuits Peanut Butter
Making tasty homemade dog treats begins with picking the right ingredients. *Whole wheat flour* is the best base, giving your dog fiber and nutrients. Always choose natural peanut butter without xylitol, which is harmful to dogs.
My favorite recipe uses creamy peanut butter for its protein and flavor. *Unsweetened applesauce* adds moisture, making the biscuits soft and chewy. It also keeps the treats sugar-free.
Here are the main ingredients for these dog biscuits:
- 2 cups whole wheat flour
- 1 cup natural peanut butter
- 1 cup unsweetened applesauce
- Optional: chicken or vegetable stock for added flavor
It’s crucial to avoid xylitol in any ingredients. This sweetener can harm dogs, causing insulin release and liver failure. Always check labels and use only natural ingredients that are good for your dog’s health.
Homemade treats save money and are healthier for your dog. They cost about $2.25 for 28 treats, compared to $16 for store-bought ones. With just 15 minutes of prep and 10 minutes of baking, you can make a batch of treats your dog will love.
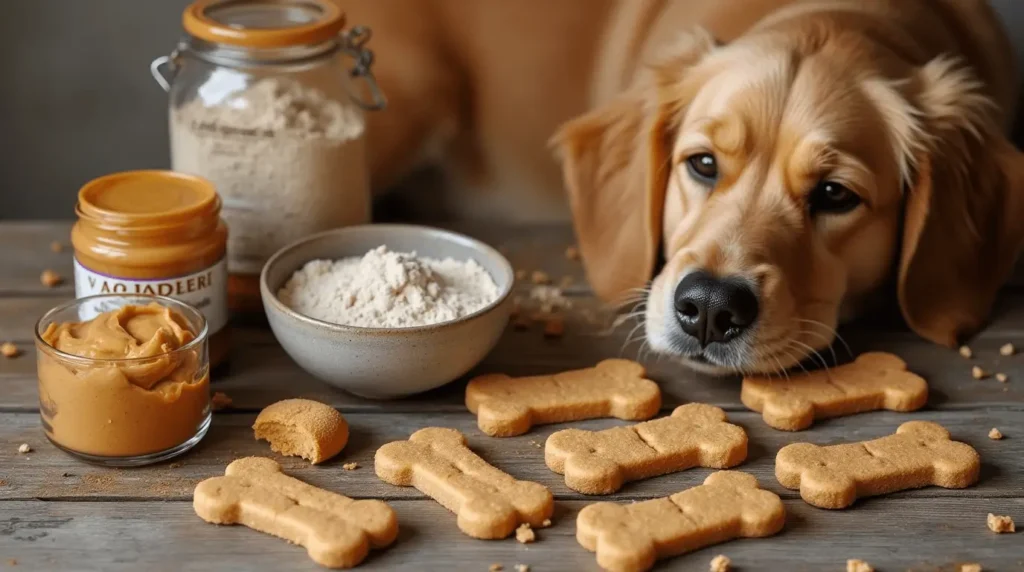
Kitchen Tools and Equipment Needed
Homemade dog treats need some basic kitchen tools for easy baking. I’ll show you the must-haves and some nice-to-haves for better treats.
Must-Have Baking Items
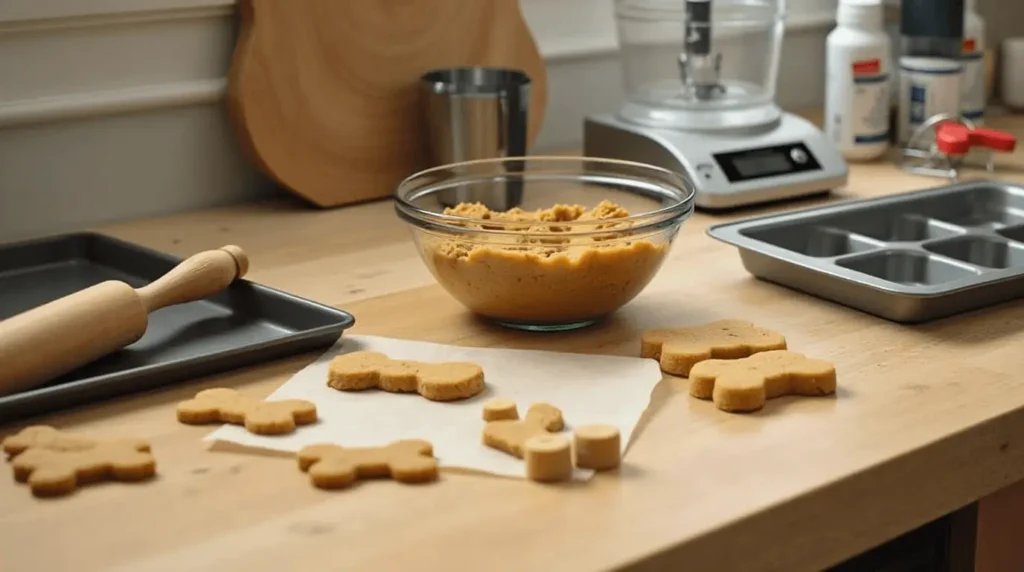
For tasty peanut butter dog treats, you’ll need a few key tools. A sturdy baking sheet is key for even cooking and crispy treats. Choose a heavy-duty, non-stick baking sheet for repeated use.
A reliable rolling pin is also important. It helps make dough the same thickness, so all treats bake evenly.
Optional Tools for Enhanced Results
A food processor is not necessary but makes mixing easier. It blends ingredients smoothly, creating a perfect dough. Professional bakers often recommend this tool for consistent texture.
Other helpful tools include a stand mixer and digital kitchen scale. They help with precise measurements and mixing.
Cookie Cutter Options
Choosing the right cookie cutter makes treat making fun. A bone-shaped cutter is the classic choice for dog biscuits. It gives treats the look dogs love.
You can find bone cookie cutters in many sizes for different breeds and preferences. Stainless steel cutters are durable and easy to clean, great for frequent treat makers.
Preparing Your Workspace and Ingredients
Before starting to make homemade dog treats, I always clean and organize my workspace. It’s important to have your ingredients ready and your kitchen set up for baking. I pull out a large mixing bowl and arrange all my ingredients so they’re easy to reach.
First, I preheat the oven to 350°F and line a baking sheet with parchment paper. This step helps my treats bake evenly and prevents them from sticking. Preparation is key to creating perfect dog biscuits!
When using two or more ingredients, measuring carefully is crucial. I start by mixing flour and other dry ingredients in the bowl. It’s vital to use fresh, safe ingredients for our pets. Make sure your peanut butter doesn’t have xylitol, which is harmful to dogs.
Having everything ready makes baking treats easier and more fun. From measuring cups to mixing tools, a tidy workspace is essential for success. Remember, the love you put into making these treats is just as important as the ingredients themselves!
How to Make Dog Biscuits Peanut Butter: A Step-by-Step Guide
Make delicious and healthy peanut butter dog biscuits at home! 🐶🍪 Try this easy homemade treat recipe now!
Making tasty peanut butter dog treats is simple. I’ll show you how to mix them up for your furry friend. Just mix the ingredients well and watch the dough’s consistency.
Combining Dry Ingredients
First, get your dry ingredients ready. In a big bowl, mix 2 1/2 cups of whole wheat flour. You can also use all-purpose or oat flour if you prefer. Creating the perfect base is crucial for making dog treats that are both delicious and nutritious.
Adding Wet Ingredients
Now, let’s mix everything together. Add 1 cup of creamy peanut butter and 2 eggs to the dry ingredients. Mix in liquid ingredients a tablespoon at a time until the dough is just right. Use milk instead of water for extra moisture and flavor.
Achieving the Right Dough Consistency
The dough should be thick and a bit crumbly. Add 3/4 cup of water to help it stick together. Mix well until you can shape it into a big ball. If it’s too dry, add a little water. Aim for a dough that’s easy to roll out to about 1/4 inch thickness.
Rolling and Cutting the Treats
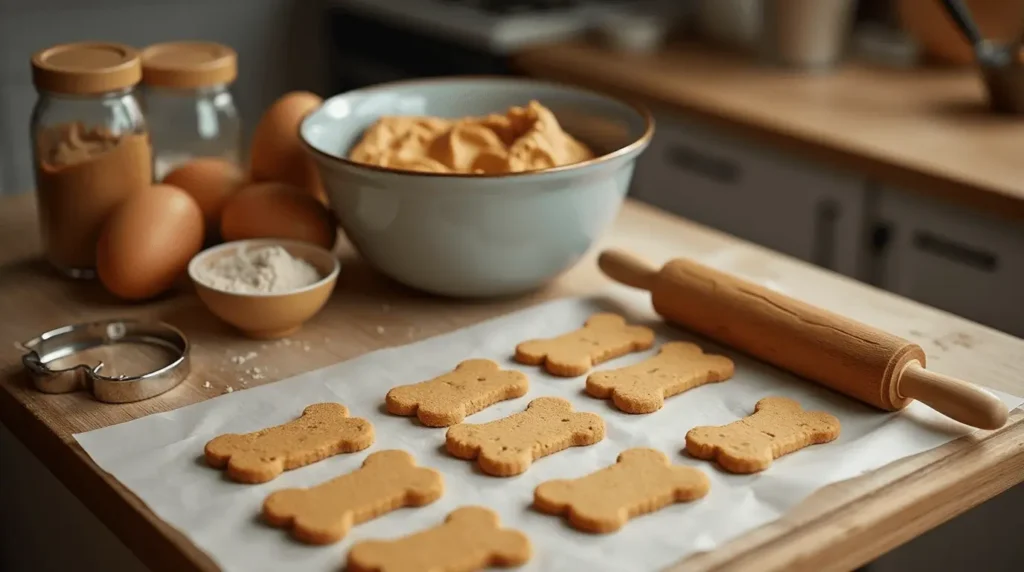
When making homemade dog treats, it’s important to be precise. Start by rolling the dough on a clean, lightly floured surface. Try to make the dough about ¼ inch thick for even baking.
To avoid sticking, dust your cookie cutter with flour. Choose shapes like bones or fun dog designs to make the treats more exciting. Press the cutter down firmly and lift it straight up for a clean cut.
If your dough is soft, chilling it in the fridge for a bit can help. This makes it easier to keep the shapes when cutting. Pro tip: Place the cut shapes on a parchment-lined baking sheet to keep them in shape.
Use different cookie cutter sizes for dogs of all sizes. Smaller dogs might like smaller treats, while bigger dogs can enjoy larger ones. Keeping the dough thickness consistent ensures all treats bake evenly.
Baking Tips for Perfect Dog Biscuits
Making tasty homemade dog treats needs careful baking techniques. Paying attention to details ensures your pet gets a healthy and yummy snack.
Temperature and Timing Guidelines
Set your oven to 350°F for the best results. The baking sheet and time are key for the right texture. Aim for 18-20 minutes for most biscuits until they’re lightly golden.
Pro tip: Bigger cookies might need more time. Keep an eye on them to avoid burning. Adjust the time based on size and thickness.
Signs of Perfect Doneness
Figuring out when biscuits are done takes practice. Look for a dry, firm texture and a golden color. They should be crisp and snap when broken.
After baking, let them cool completely on a wire rack. It’s important to cool them before giving them to your dog. This makes sure they’re not too hot and are at the right consistency.
Remember, homemade treats are a special treat, not a full meal. Always watch portion sizes and your dog’s specific needs.
Optional Frosting and Decorations
Adding a special frosting to your dog treats can make them even more fun. Look for natural ingredients like honey and unsweetened peanut butter. These are safe and tasty. But, avoid added sugar or harmful ingredients that could harm your dog.
For a simple dog-friendly icing, mix 4 tablespoons of sifted cornstarch with 4 teaspoons of water and 1 teaspoon of honey. This makes a smooth, spreadable topping that hardens fast. Pro tip: The icing will change from liquid to solid based on movement, making it great for decorating.
To add more flavor, mix in 1-2 teaspoons of unsalted, no-sugar peanut butter. You can also use pasteurized dried egg whites or a bit of yogurt powder for extra taste and texture.
When decorating, use food-safe colors carefully. Use concentrated or powdered food coloring for best results without changing the icing’s texture. Tip: The icing dries in 24 hours and can be piped into fun designs if it’s the right thickness.
Keep your decorated treats in an airtight container. They’ll stay fresh for up to a week at room temperature or two weeks in the fridge. Always choose natural, safe ingredients for these special homemade treats.
Storage and Shelf Life
After making tasty peanut butter dog treats, it’s key to store them right. Use an airtight container to keep the treats fresh. This keeps the biscuits from getting soggy or contaminated.
For a few days, you can store them at room temperature. But for longer, put them in a sealed container in the fridge. They’ll stay good for two months there. *Refrigeration stops bacteria from growing* and keeps the treats fresh.
Freezing is best for keeping treats for a long time. Thaw them slowly in the fridge to keep them in good shape. Vacuum-sealed bags can make your treats last up to a year in the freezer. Just remember to mark the container with when you made them.
Keep an eye out for signs of spoilage like bad smells, mold, or texture changes. Soft treats last 5-7 days, while crunchy ones can last up to two weeks. By following these tips, your dog will enjoy safe and yummy homemade treats.
Alternative Ingredients and Substitutions
Making yummy dog treats is all about being flexible, especially with dietary needs. Pet owners often look for creative ways to make healthy snacks for their pets.
Flour Alternatives for Sensitive Pups
Not all dogs can handle wheat flour. I suggest trying almond flour or rolled oats as alternatives. Almond flour is rich in protein and great for dogs with wheat allergies. Oat flour, made from ground oats, is another good gluten-free choice.
Nut Butter Substitutions
Peanut butter isn’t good for every dog. *Cashew butter* and sunflower seed butter are great alternatives for dogs with nut allergies. Pumpkin dog treats can also be a nutritious option. Use unsweetened pumpkin puree or mashed banana as natural sweeteners and binders.
Healthy Ingredient Swaps
When making treats, think about what your dog needs. Sweet potato or pumpkin can replace fats, adding moisture and nutrients. Always check labels to avoid harmful additives like xylitol. Treats should be only 10% of your dog’s daily calories.
Tips for Making Treats for Different Dog Sizes
Making the perfect bone cookie for your dog means knowing their size and nutritional needs. As a dog owner, I’ve found that moderation is key. Smaller dogs need smaller treats, while bigger dogs can have more.
For tiny pups, I use a mini bone cookie cutter. This makes bite-sized treats that help control how much they eat. Puppies and senior dogs need softer treats with extra protein and vitamins.
Vitamin B is important for all dogs, so I pick ingredients that meet their nutritional needs. Bigger dogs might need bigger treats, but I adjust the recipe. I weigh the treats to make sure they get the right amount of nutrition without too many calories.
Think about your dog’s activity level and health needs when making treats. A working dog might need more calories, while a less active pet needs smaller treats. I use a kitchen scale to measure ingredients exactly, making treats that fit my dog’s size and diet.
Remember, homemade treats are just a supplement to a balanced diet. By making treats that match your dog’s size, you give them a tasty and healthy reward. This supports their health and happiness.
Conclusion
I’ve shared a great recipe that dogs will love, and now it’s time to put your newfound baking skills to the test. These homemade treats are more than just snacks. They show your furry friend how much you care about their health and happiness.
When you try this recipe, remember that moderation is key. Peanut butter is packed with nutrients, but it’s also calorie-dense. The treats are made with love and carefully selected ingredients that support your dog’s overall wellness. Popular recipes like this one can become a special bonding experience for you and your pet.
I encourage you to experiment, have fun, and share your results. Each batch of treats is a chance to create something unique that your dog will absolutely adore. Whether you’re making them for your own furry companion or as a gift for fellow dog lovers, these homemade peanut butter treats are sure to bring joy and tail wags!
Don’t be afraid to get creative and make the recipe your own. Your four-legged friend will appreciate the time and effort you’ve put into making something special just for them.
FAQ
Are homemade peanut butter dog treats safe for all dogs?
Homemade treats can be healthy, but always check with your vet first. Some dogs might have allergies or special diets. Make sure to use natural peanut butter without xylitol and introduce new treats slowly.
How long can I store homemade peanut butter dog treats?
Store them in an airtight container for 1-2 weeks at room temperature. For longer, refrigerate for up to 3 weeks or freeze for 3 months. Always check for spoilage before giving them to your dog.
Can I substitute ingredients if my dog has allergies?
Yes! Use almond flour or coconut flour for wheat allergies. For peanut allergies, try sunflower seed butter or cashew butter. Always talk to your vet about your dog’s diet.
How often can I give my dog homemade treats?
Treats should not be more than 10% of your dog’s daily calories. They’re best as occasional rewards or special snacks, not a main food.
What equipment do I need to make these dog treats?
You’ll need a large mixing bowl, rolling pin, baking sheet, and a cookie cutter (like a bone shape). A food processor helps mix, but it’s not required.
Are these treats nutritionally balanced for my dog?
Homemade treats can be nutritious but should not replace a balanced diet. They add protein and healthy ingredients like oats or pumpkin, but are not enough on their own.
Can puppies eat these homemade treats?
Puppies can have these treats in small amounts. But, talk to your vet about the right size and frequency for your puppy’s age and breed.
How do I know if the peanut butter is safe for dogs?
Always read the label carefully. Avoid peanut butter with xylitol, which is harmful to dogs. Choose natural, unsweetened peanut butter with few ingredients.

